Smart Move
| The Smart Move command combines the Manipulate and Snap capabilities. Optionally, it creates constraints. This task illustrates how to move a component and create a coincidence constraint between two axes. | ||
| Open the MovingComponents01.CATProduct document. | ||
| 1. | Click the
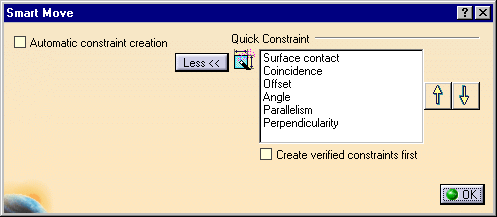
Smart Move icon The Quick Constraint frame contains the list of the constraints that can be set. This list displays these constraints in a hierarchical order and can be edited by using both arrows to right of the dialog box. |
|
 |
||
| 2. | Check the Automatic constraint
creation option.
The application creates the first possible constraint as specified in the list of constraints having priority. For more about this list, please refer to Quick Constraint.. |
|
| 3. |
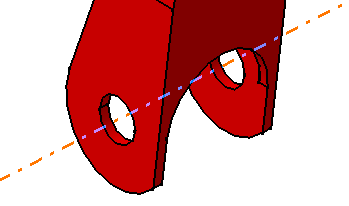
Select the axis of CRIC_BRANCH_1 as shown: |
|
 |
||
| 4. | Select the axis of CRIC_BRANCH_3. | |
| Instead of explicitly selecting both axes, you can select the axis of CRIC_BRANCH_1 and then drop it onto the blue inner cylinder face when your cursor points to this face. | ||
|
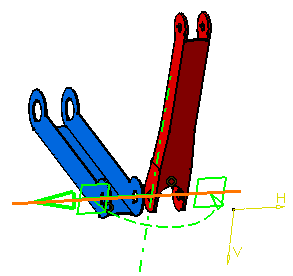
The application detects a possible constraint between the axes. As the option Create constraint is on, the application can set a coincidence constraint between both axes. |
||
|
|
||
| 5. | Click the green arrow to reverse the direction of the component. | |
|
|
||
| 6. | Click OK to confirm
and quit the command.
The coincidence constraint is created. |
|

