Editing the Color Palette
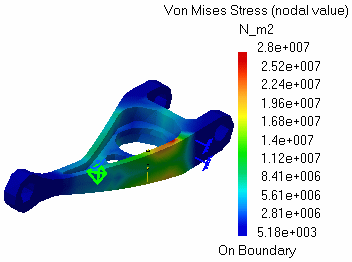
| The Von Mises Stresses, the Displacements,
the Precision, the Principal Stress distributions are employed along with a Color
Palette. Editing the palette enables you to emphasize on particular values spread on
the parts.
|
|||||||||||||||||||||||
| This task shows how to edit and lock the Color Palette on a Von Mises
Stress display.
|
|||||||||||||||||||||||
You can use the sample26.CATAnalysis document from the samples directory for this task. Before You Begin:
|
|||||||||||||||||||||||
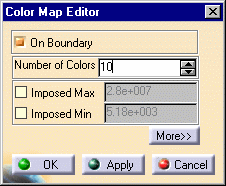
| 1. Double click on the Palette to edit it. The Color Map Editor dialog box is displayed.
You can set the values defining:
2. Click on More
switch button.
3. Modify the desired parameters.
4. Click on Apply to check if the palette
fits. If yes,
click on OK.
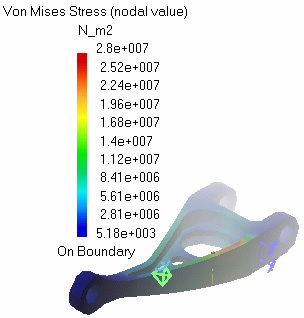
5. You can move the Palette in the viewer. To do so, click on the
Palette.
6. Move the Color Palette with the middle mouse button to the desired place. 7. Click again on the Color palette to fix it there.
|
|||||||||||||||||||||||
|
|
|||||||||||||||||||||||
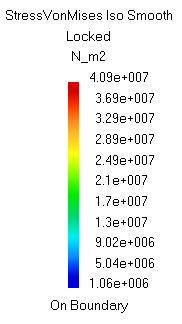
| You can lock the palette (global maxima and minima). For this, select the part of
which you want to lock the color, then right-click the color palette and select the Lock option from the displayed
contextual menu. When dealing with an assembly, and if you select one part
in the assembly, the palette is automatically updated and all the colors
are now defined in accordance with the selected color.
You can use the Analysis2_Lock01.CATAnalysis document from the samples directory for this point.
|
|||||||||||||||||||||||
|
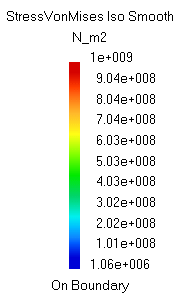
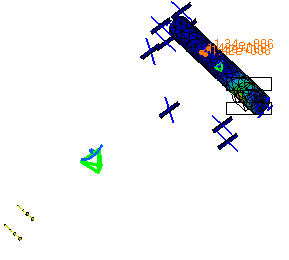
1. Double-click an image of one part in the assembly.
The Palette is as follows: 2. Select the desired part (in the Image
Edition dialog box (Selections tab), right-click the color palette and
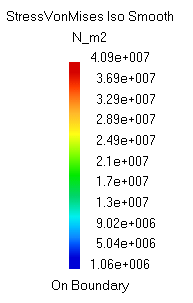
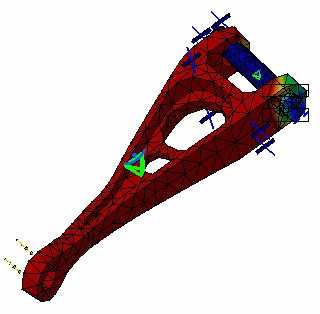
select the Lock Option from the contextual menu.
The Palette is as follows (local maxima and minima now appear): 3. Select the All
product in the Image Edition dialog box (Selections tab).
The Palette is as follows (local maxima and minima are kept even though
you are now using global maxima and minima):
|
|||||||||||||||||||||||
|
|
|||||||||||||||||||||||
