Creating a Text With a Leader
| This task shows you how to create a text with
a leader either in the free space or associated with an element. You can set text properties either before or after you create the text.
Creating a Text With a Leader |
||||||||
| Create a rectangle. | ||||||||
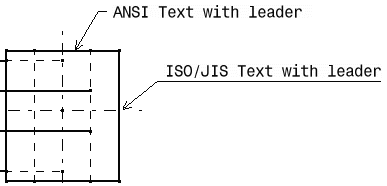
| Note that leader lines are displayed in either of the following ways based on the standard currently set in defining the sheet. | ||||||||
|
||||||||
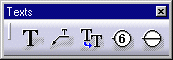
| 1. Click the Text With Leader icon |
||||||||
|
 |
|||||||
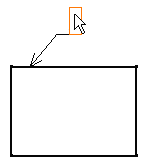
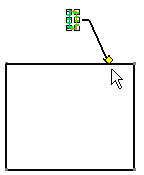
| 2. Click the point on the element you want the leader to begin
(arrow end). A red frame appears. 3. Click in the free space to define a location for the text.
|
||||||||
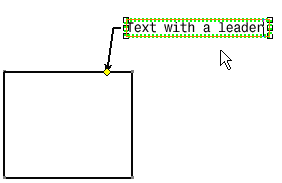
| Both the red frame and the arrow end of the leader are now assigned white and yellow manipulators. |
||||||||
| 4. If needed, drag the frame and/or arrow to a new location. For example,
drag the arrow to the right. At this step, you can also decide that you want the text to be wrapped (like when creating a free text).
|
||||||||
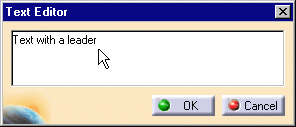
| The Text Editor dialog box is displayed. 5. Enter the text in the Text Editor dialog box or directly on the drawing.
|
||||||||
| 6. If needed, re-position or modify the text.
|
||||||||
| 7. To end the text creation, click again in free space or select a command
icon.
|
||||||||
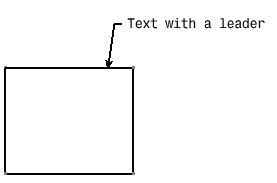
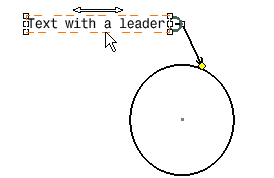
| The leader is associated with the element you selected. If you move either the text or the element, the leader stretches to maintain its association with the element. | ||||||||
| If you change the element that is associated with the leader, between
both the new element and the text with leader remains associative to each
others. 8. Create a circle. 9. Move the text with a leader.
|
||||||||
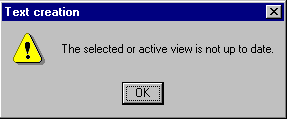
|
You can create a text in a view which is not up-to-date, but you cannot
associate it to geometry or the following panel appears:
|
|||||||
Specifying Leader Orientation |
||||||||
When creating a text with leader, you can make the leader first segment perpendicular to the element
to which the leader is associated. To do this, you can either:
|
||||||||
Specifying Text Orientation |
||||||||
| When creating a text with leader, you can make the text vertical. To do this, hold the Ctrl key while clicking in the drawing to position the text (previous scenario, step 3). | ||||||||
|
||||||||
|
||||||||
| Elements That Can Be Assigned Text With Leader |
|---|
| 2D elements |
| lines |
| points |
| circles |
| curves |
| Generative Edges |