Creating 3D Section Cuts
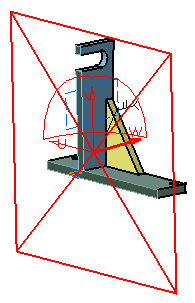
| 3D section cuts cut away the material from the plane. This task explains how to create 3D section cuts. | ||
| Open the WeldPlanner.CATProduct document. | ||
| 1. | Click the Sectioning
The Sectioning Definition dialog box appears and the section plane is automatically created. |
|
|
|
||
| 2. | Click
the Volume Cut The material in the negative direction along the normal vector of the plane (W-axis) is cut away. |
|
|
|
||
|
Note: In some cases, the normal vector of the plane is inverted to give you the best view of the cut. Double-click the normal vector of
the plane to invert it, or click the Invert Normal |
||
|
|
||
| 3. | Re-click the icon to restore the material cut away. | |
| 4. | Click OK when done. | |
|
|
||


