Defining a Sheet
 |
This task will show you
how to define a sheet.
For more information about drafting workbench access, see Entering the Interactive Drafting Workbench.
|
 |
1. Click the
New icon  or
select File -> New. or
select File -> New.
2. Select the Drawing workbench, and click OK. |
 |
|
3.
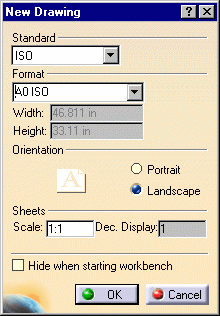
From the New Drawing dialog box, select the ISO
standard, and the A0 ISO format.
4. Select the Landscape
orientation. 5. Select the 1:1
scale, and then click OK. |
 |

|
 | You can create your own format:
 | key in the format name in the Format field, |
 | use the tab key to access to the Width and Height
fields and sets their values. |
|
 | You can add an unlimited number of customized Standard using
CATDrwStandard files that you will create and, if needed, modify in the $OS\resources\standard
directory. Once created, this Standard will appear in the New Drawing
dialog box. For more details on standards, see the Standards Administration section.
Care that any user-defined standard is based on one of the four international standards (ANSI, ISO,ASME or
JIS) as far as basic
parameters are concerned. |
|
 |
 | At any time, you can change the standard (which you can update), sheet format, orientation
and/or scale. To do this, select File->Page Setup from the
menu bar.
If you select a new standard, the value in the Apply on
field becomes All sheets and the new standard is applied to all drawing
sheets annotations.
|
.
|
|
 | The sheet size depends on the standard type. For example, if
you choose the ISO standard, the sheet will automatically be assigned the A0
format
type. You can choose another format if
you want. |
|
|

|

|
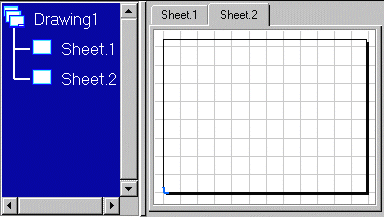
To add a new
sheet, click the New Sheet icon  . The new sheet automatically appears as follows: . The new sheet automatically appears as follows:
The
Insert Elements into a Sheet dialog box appears. For more details, see Managing a Background
View in the Generative Drafting User's Guide. |
 |
Once you have created more than one sheet, to
activate one of the sheets, select this sheet from the dialog window. |

|
|


