Creating an Exploded View
| This task will show you how to create an isometric view, and then, projected views from an assembly previously exploded via Digital Mock-up workbench (DMU Navigator). |
| Before You Begin, make sure you customized the following settings:
Grid: View names and scaling factors: |
| Open Gun_Body.CATProduct. | ||
| In a Product Structure context, if you create a front view from a scene of a
product, you can directly select the Scene object in the specification
tree. You do not necessarily need to select the Product and sub-products
any more.
|
||
| 1. Go to Digital Mock-up workbench (DMU Navigator)
and define the Scene with the adequate orientation and
with the instances properly positioned.
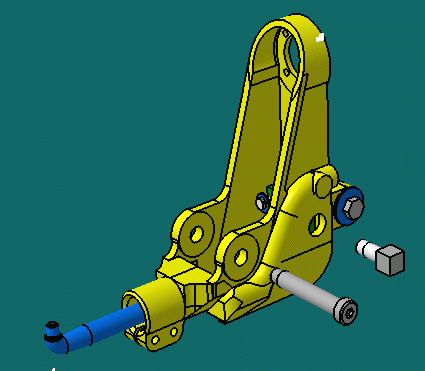
2. Explode the view as shown here:
|
||
| 3. Go to Drafting workbench and click the
Isometric View icon
|
||
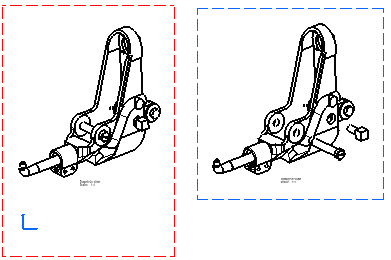
4. Select the product from the specification tree and then a plane on this product. 5. Click to locate the resulting exploded view.
|
||
| Non exploded product:
Exploded product:
|
||
| You can insert Bill of Material information into the active view. | ||
|
||