Creating a Section View / Cut with Profile Defined in 3D
| In this
task, you will learn how to create
a section view or a section cut using a 3D profile
as cutting plane. Section views / section cuts are usually created using a cutting profile as the cutting plane; such a profile is typically driven using concentricity or parallelism constraints. Defining a profile in 3D to create a section view / section cut enables you to make the profile associative with the geometry, and therefore to drive this profile using dimensional constraints, for example.
|
||||||||||
| Open the GenDrafting_part.CATPart
and the GenDrafting_front_view.CATDrawing
documents. Tile your windows vertically to see both your part and the related drawing.
|
||||||||||
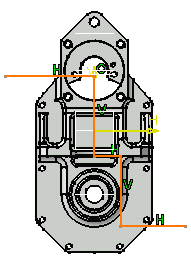
| 1. In the Part window,
click the Sketcher icon |
||||||||||
| 2.
Click the Profile icon |

|
|||||||||
| 3.
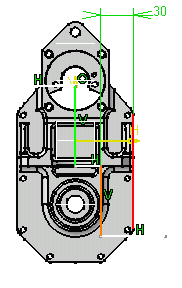
You can now create dimensional constraints between your profile and other
elements. Click the Constraint icon 4 Now, click a vertical line and the edge of the part to create a dimensional constraint between them. |

|
|||||||||
| 4.
Exit the Sketcher workbench.
5.
In the Drawing window, click the Update icon |
||||||||||
| 6. Click the
Offset Section View icon
|
||||||||||
| Depending on the type of profile you sketched and on the type of section (offset or aligned) you want, you can select another icon on the Sections subtoolbar. If the 3D profile is not valid for generating the appropriate view, you will not be able to select it. In this case, you will need to select another icon. | ||||||||||
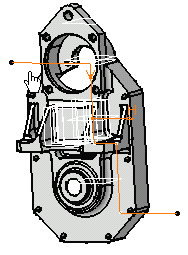
| 7. Select the profile on
the 3D part.
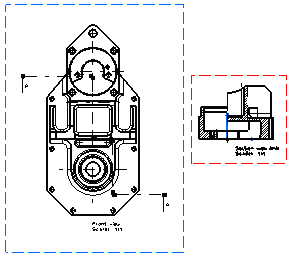
The cutting profile is automatically displayed on the front view as well as a preview of the view to be generated. Positioning the section view amounts to defining the section view or the section cut direction. |

|
|||||||||
| 8. Click to generate the view. | 
|
|||||||||
|
||||||||||
|
|
||||||||||

