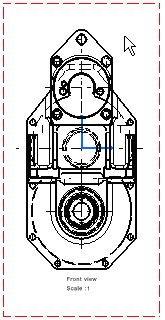
Locking a View
| This task will show you how to lock views. This may be useful if you need to modify a part without modifying the generated views. For example, when you need to modify a constraint in the 3D but not the generated views. | |||||||
Locking a view means you are not
allowed to:
The move command is still available when views are locked. |
| Before You Begin, make sure you customized the following settings:
Grid: View names and scaling factors: |
| Open the GenDrafting_front_view.CATDrawing
document.
|
||
| 1. Right-click the view to be modified (either the view frame or the
view itself).
2. Select the Properties option from the contextual menu. |

|
|
The Properties dialog box appears: 3. Select the View tab and select the Lock View check box. The other fields appear in gray indicating that you can no longer edit them. The views are locked as soon as you check the Lock View view button. The options OK, Apply and Cancel buttons (in the Properties dialog box) have no impact on the status of the view that is being locked. |
 |
|
|
4. The view is automatically locked. This is indicated in the specification tree: |
 |
|
|
||