Editing Dimension Extension Line Properties
| This task explains how to access and, if needed, edit dimension extension line properties. | |||||||||||||||||
| Open the Brackets_views02.CATDrawing document. Create a diameter dimension, for example. | |||||||||||||||||
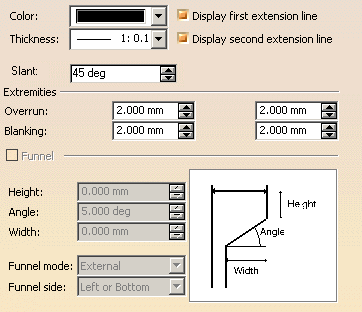
| 1. Select
the dimension you created (whatever the type). 2. Select the Edit-> Properties command. You can also right-click on this dimension and then choose Properties from the contextual menu. 3. In the Properties dialog box that appears, click the Extension Line tab. The associated panel is displayed. |
|||||||||||||||||
|
|||||||||||||||||
|
|||||||||||||||||
|
|||||||||||||||||
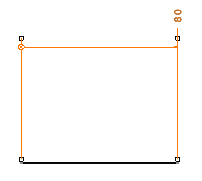
This functionality works only on
linear dimension line and the line linking extension line anchor points
(blanking excluded) has to be parallel to the dimension line, as shown
below.
|
|||||||||||||||||
|
|||||||||||||||||
Overrun is the overrun minimum value. As an example,
for a cumulated dimension (for ISO Standard):
|
|||||||||||||||||
| To set extension line length and text position for cumulated dimensions, use the CUMLExtMode dimension parameter in the standards. | |||||||||||||||||
|
|||||||||||||||||
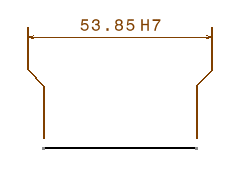
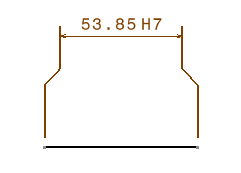
| You cannot create interruptions on funneled dimension lines. | |||||||||||||||||
| 4. Modify the
available options as required.
5. Click OK. |
|||||||||||||||||
|
|||||||||||||||||


