Creating Connect Curves
|
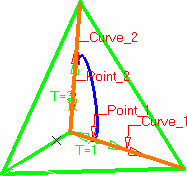
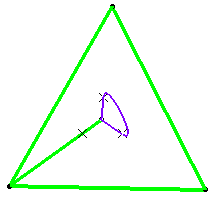
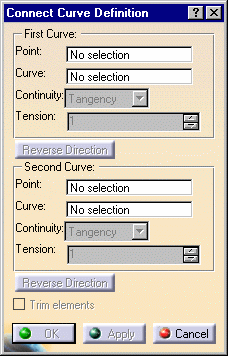
This task shows how to create connecting curves between two existing curves. |
||
|
Open the Connect1.CATPart document. |
||
|
 |
|
|
|
||
|
||
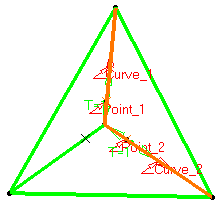
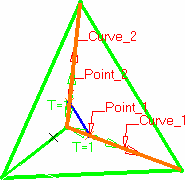
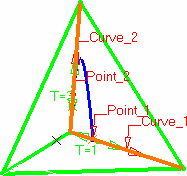
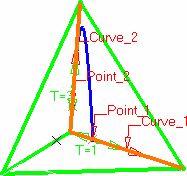
| The connect curve is displayed between the two selected points according to the specified continuity and tension values. | ||
|
|
|
|
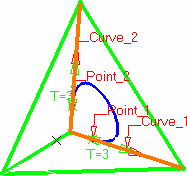
| Connect curve with point continuity at both points | Connect curve with point continuity at one point and tangent continuity at the other |
|
|
|
|
| Connect curve with point continuity at one point and curvature continuity at the other |
Connect curve with tangent continuity at one point and curvature continuity at the other |
|
 |
 |
|
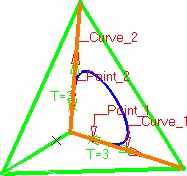
| Connect curve with curvature continuity at both points | Connect curve with tangent continuity at both points | |
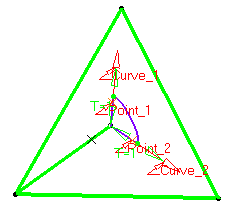
A graphic manipulator also allows you to modify the tension at the extremity of the connect curve, rather than in the dialog box. |
||
|
 |
|
|
||
|
|
||
|
|
||
