 |
This task illustrates how to
use the Union Trim capability. |
| |
When working in a CATProduct
document, it is no longer necessary to copy and paste the bodies
belonging to distinct parts before associating them. You can directly associate these bodies using the same steps as described in
this task. |
 |
Open the UnionTrim1.CATPart
document. |
 |
1. |
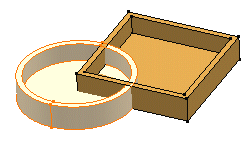
Select the body you wish to trim, i.e.
Body.2. |
|
|
|
|
2. |
Click the Union Trim
icon  . .
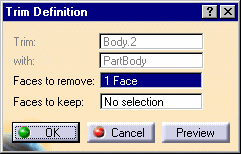
The Trim Definition dialog box is displayed. The faces you cannot
select are displayed in red. |
|
3. |
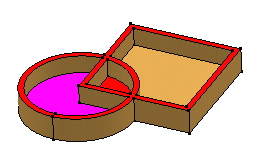
Click the Faces to remove field and select Body.2 's
inner face. |
|
|
|
|
|
The selected face appears in pink,
meaning that the application is going to remove it. |
|
|
|
|
4. |
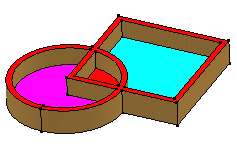
Click the Faces to keep field and select Part Body.
's inner face.
This face becomes blue, meaning that the application
is going to keep it. |
|
|
|
 |
|
Clicking the Preview button lets you
check if your specifications meet your needs or not. To restore the
view, you simply need to click the Undo  command .
 |
|
5. |
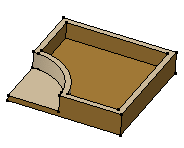
Click OK to confirm.
The application computes the material to be removed. The
operation (identified as Trim.xxx) is added to the specification
tree. |
|
|
|
 |
|
 |
You cannot re-apply the Assemble,
Add, Trim, Intersect,
Remove and Remove
Lump commands to bodies already associated to other bodies.
However, if you copy and paste the result of such operations
elsewhere in the tree you can then use these commands. |
|
|
|
 |
Avoid using input elements that are tangent to each
other since this may result in geometric instabilities in the tangency
zone. |
|
|

|
![]()


