 |
This task shows you how to
translate one, or
more, point, line or surface element.
|
 |
Open the Translate1.CATPart document.
|
 |
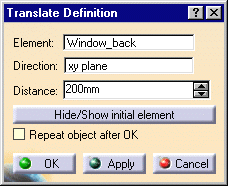
-
Click the Translate icon  . .
The Translate Definition dialog box appears.
|
|
|
-
Select the element to be translated.
|
 |
-
Select the Vector
Definition.
|
|
 | Direction, distance: |
|
|
-
Select a line to take its orientation as the
translation direction or a plane to take its normal as the translation direction.
|
|
You can also specify the direction by means of X, Y, Z vector
components by using the contextual menu on the Direction area.
|
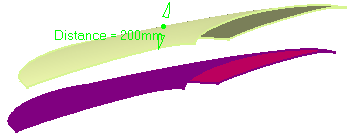
-
Specify the translation distance by entering a value or using the
Drag manipulator.
|
| |
| Point to Point: |
|
| |
- Select the Start point.
- Select the End point.
|
 |
| |
| Coordinates: |
|
| |
- Define the X, Y, and Z coordinates.
In the example besides, we chose 50mm as X, 0mm as Y, and -100 as Z.
|
 |
|
-
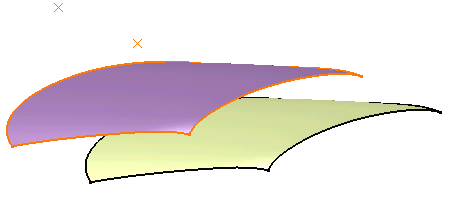
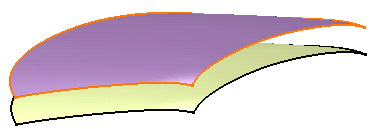
Click OK to create the
translated element.
The element (identified as Translat.xxx) is
added to the specification tree.
|

|
| The original element is
unchanged. |
|
|
| Use the Repeat object after OK
checkbox to create several translated surfaces, each separated from the
initial surface by a multiple of the Distance value.
Simply indicate in the Object Repetition dialog box the number of
instances that should be created and click OK. |
|
|
|
| You can translate several elements at
a time. |
|
|
| You can translate several elements at
a time. In this case, refer to Editing a List of
Elements
to find out how to display and manage the list of selected
elements. |
|
| |
The following capabilities are available: Stacking
Commands and Selecting Using Multi-Output. |

|